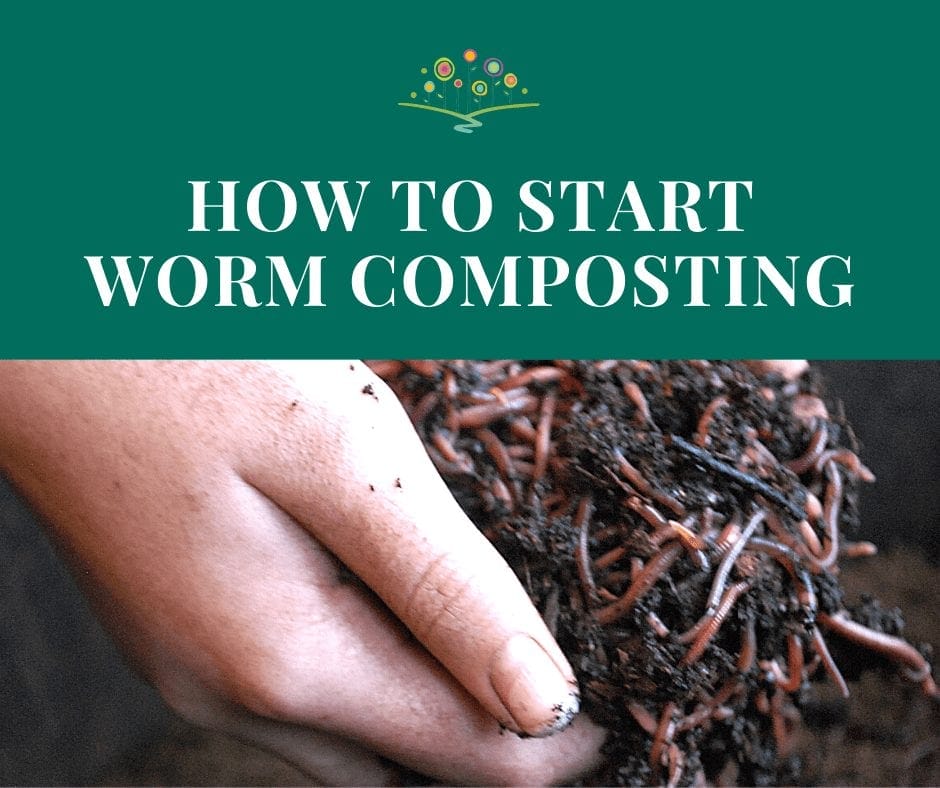
Composting is a great way to add nutrients to any landscape and garden while diverting waste from landfills. Adding helpers such as worms can improve soil health and increase the decomposition time of household scraps. Incorporating worms into compost is often referred to as vermicomposting and it’s easier to start than it is to pronounce.
Here are some tips to get you started.
IDEAL CONTAINERS FOR VERMICOMPOSTING
To start vermicomposting or worm composting, you will need a few simple items including containers to house the soil, worms, and food scraps/worm feed. The worms do their best work in a container that will protect them from the elements. Too much sun, rain, snow, or extreme temperatures can quickly kill them. A quick online search will provide you with oodles of vermicomposting bins, containers, farms, etc. Some of these items can be pricey, so if you’re looking to save some money, start with simple plastic storage bins that are not transparent.
The size of your container will depend on how many worms you want to use and how much waste you need to compost. You may want to start with a smaller container to establish your worms’ home. Then, as the population increases, separate the worms and add additional bins.
Also, be sure your bin’s lid fits securely for transportation. But, on a day-to-day basis, the lid can rest underneath the container. It will act as a catch-all for excess moisture within the container while maintaining proper drainage. The nutrient-boosted liquid that comes out is perfect for watering plants.
HOW TO PREPARE A BIN FOR VERMICOMPOSTING
Once you have your bin, drill a hole in each of the four bottom corners of the bin. These holes will aid in drainage similar to a hole at the bottom of a flower pot. The holes are important because worms can drown in too much moisture.
The next set of holes will be added to the top of the container to help with air ventilation when the lid is in place. An ideal spot for these holes is near the handles of the container so that the worms won’t escape.
SETTING UP BEDDING FOR VERMICOMPOSTING
When all of the holes necessary for airflow and drainage have been added to the bin, it’s time to prepare the bedding to receive the worms.
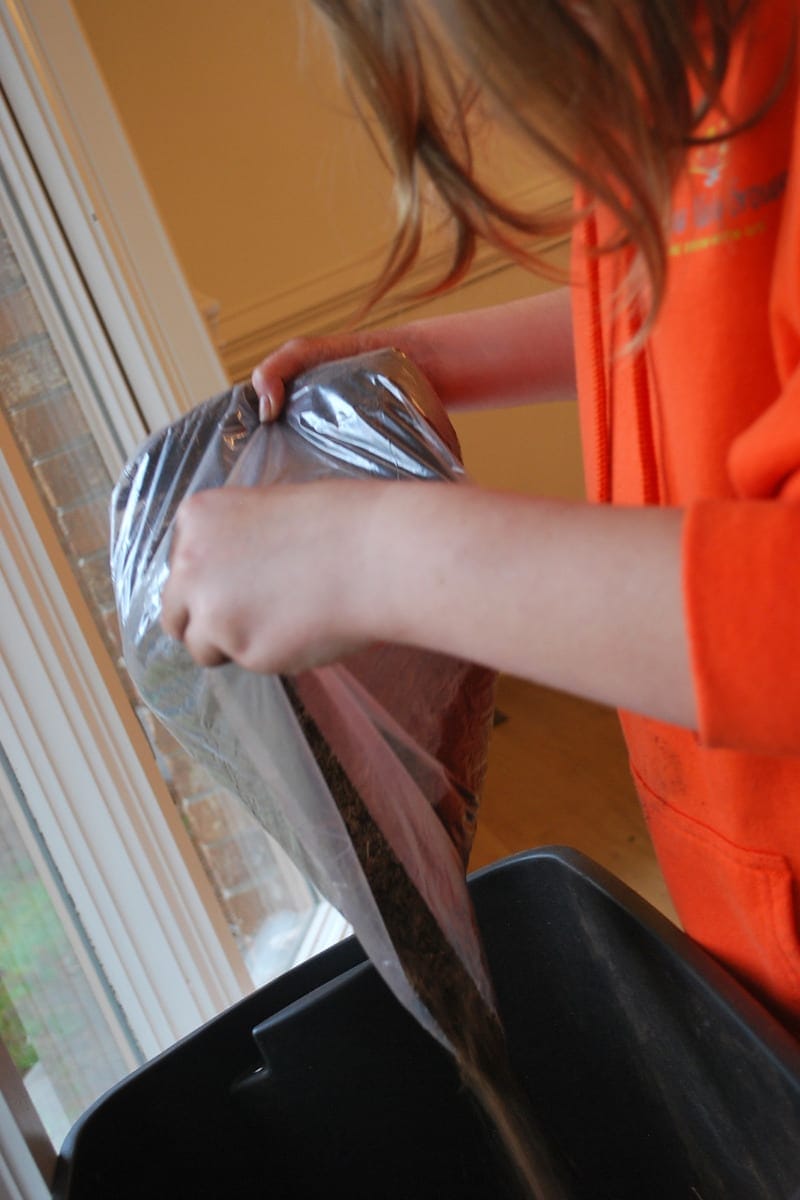
The first layer at the bottom of the bin can simply be shredded paper. Junk mail and old newspapers will work but you should avoid heavy, shiny, or dyed paper as they contain chemicals that are harmful to your worms’ health.
Hand tear or run the paper through a shredder for the ideal consistency. Then, layer the bottom of the bin with roughly three inches of paper.
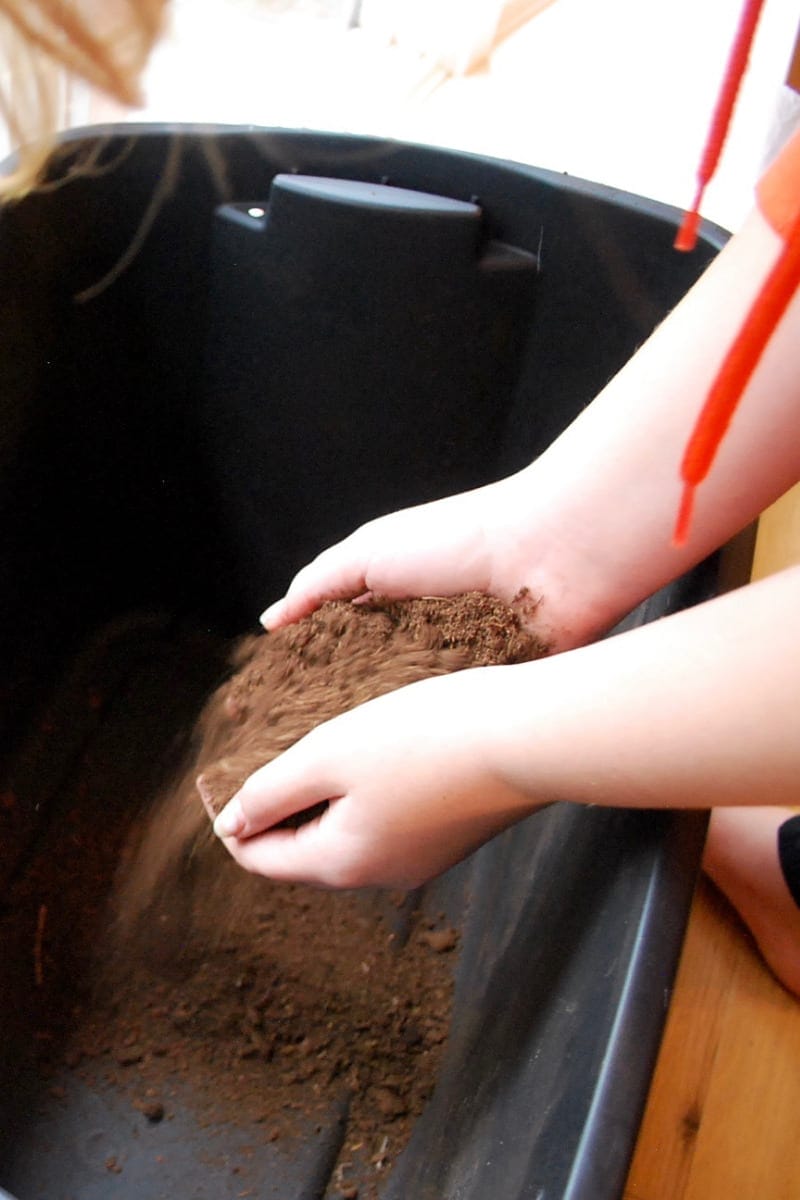
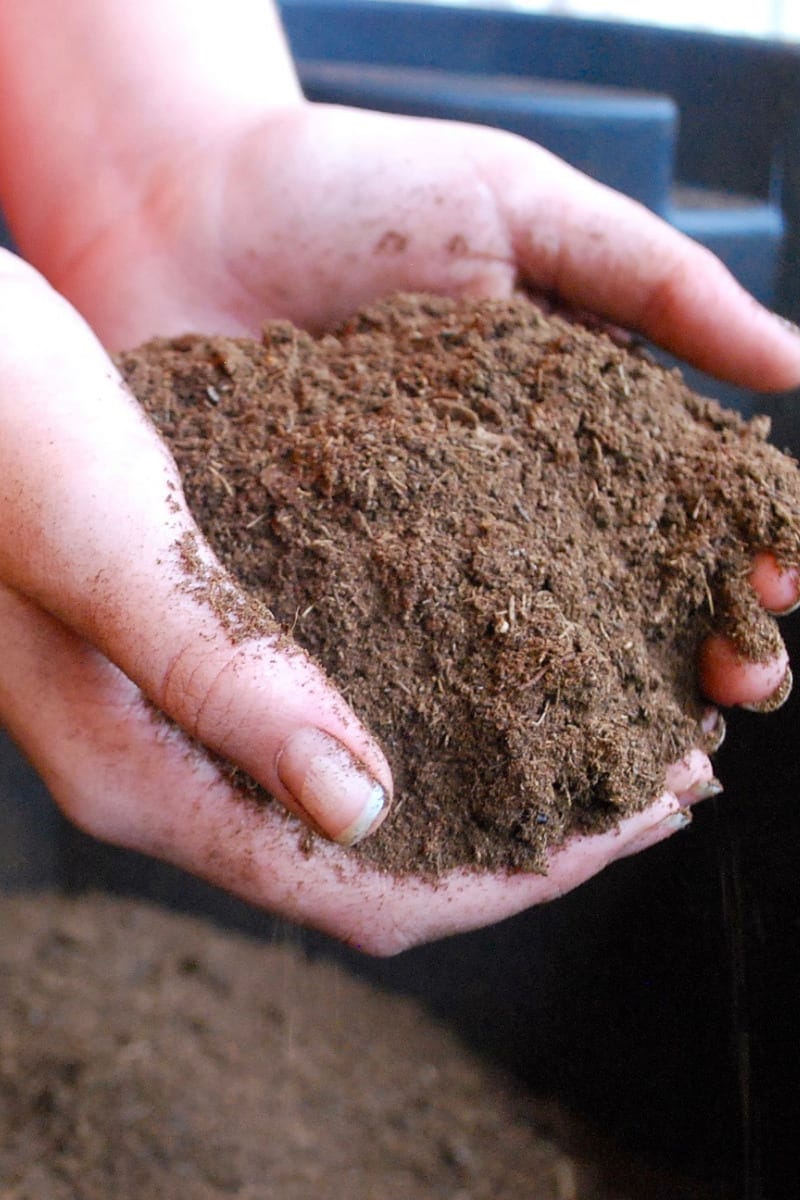
Next, add a layer of dirt until the container is about three-quarters full.
Top if off by mixing in a cup of water so that everything is damp, but not soaked.
ADDING THE “VERMI” FOR VERMICOMPOSTING
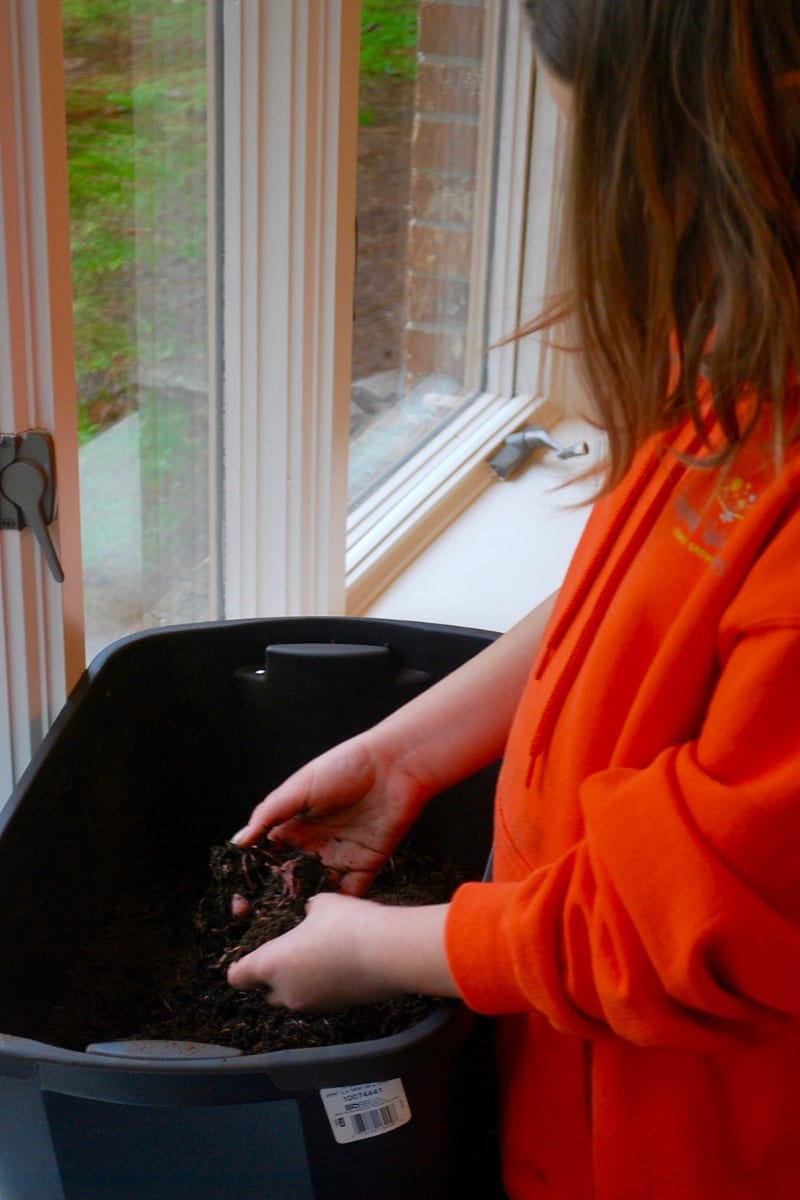
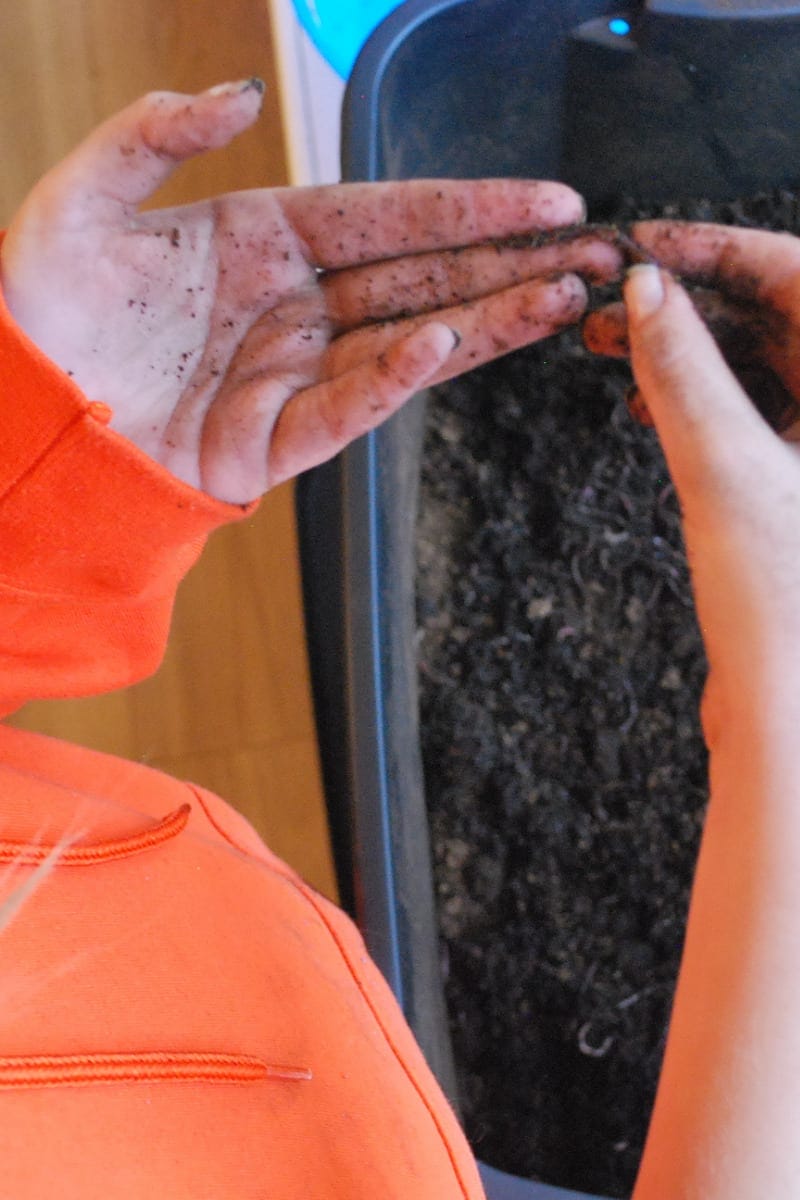
It’s worm time! Whether you purchase or handpick your worms, it’s good to do a bit of research to know which worms can help you achieve your composting goals. For example, earthworms work great for vermicomposting… but if we had to crown a chomping champion, the trophy would go to the red wigglers.
Introduce your worms to their new home by gently laying them on the mixture at the top of your bin. Place the bin in a well-lit area to encourage the worms to head down into the soil. Worms don’t like light, so they will instinctively seek a darker place and burrow into the soil.
A piece of burlap can also be helpful in “training” the worms to stay in the bin. Take a piece the same size of the top of the container, soak it in water, wring it out, and spread it on top of the worms and dirt covering the entire area. Not only will this coach them into the soil, it also adds a bit of moisture.
FEEDING TIME FOR VERMICOMPOSTING
Give the worms time to get acclimated to their new surroundings. Wait at least one day before feeding them worm food or food scraps. But be careful because you can overfeed worms rather quickly.
Start by feeding them once a week. Make a small layer of shredded paper covered with scraps. Then, cover the food with a bit of soil to keep fruit flies away. After a week, look to see how much the worms have eaten. If there’s still quite a bit left over, hold off a few more days before adding more food.
Take note of any items that are not consumed. While worms are nature’s garbage disposal, there are still a few things that they don’t enjoy. For instance, a whole potato is much harder to consume than one that’s cut up into pieces. Also, don’t include scraps of dairy, meat, citrus, or onions. As a general rule, the worm community will give those a hard pass.
After you get into a flow of consistent feeding, add the scraps on one side of the bin one week, and the other side the following week. This placement rotation will help keep castings evenly distributed until you remove them.
Another added benefit to vermicomposting: you can do it year-round! You can start a bin indoors or outdoors regardless of weather, season, or surroundings.
What are you waiting for? Put those worms to work!
To learn more about topics such as worm composting or to see what’s happening at our Emerald City, sign up for our newsletter.